

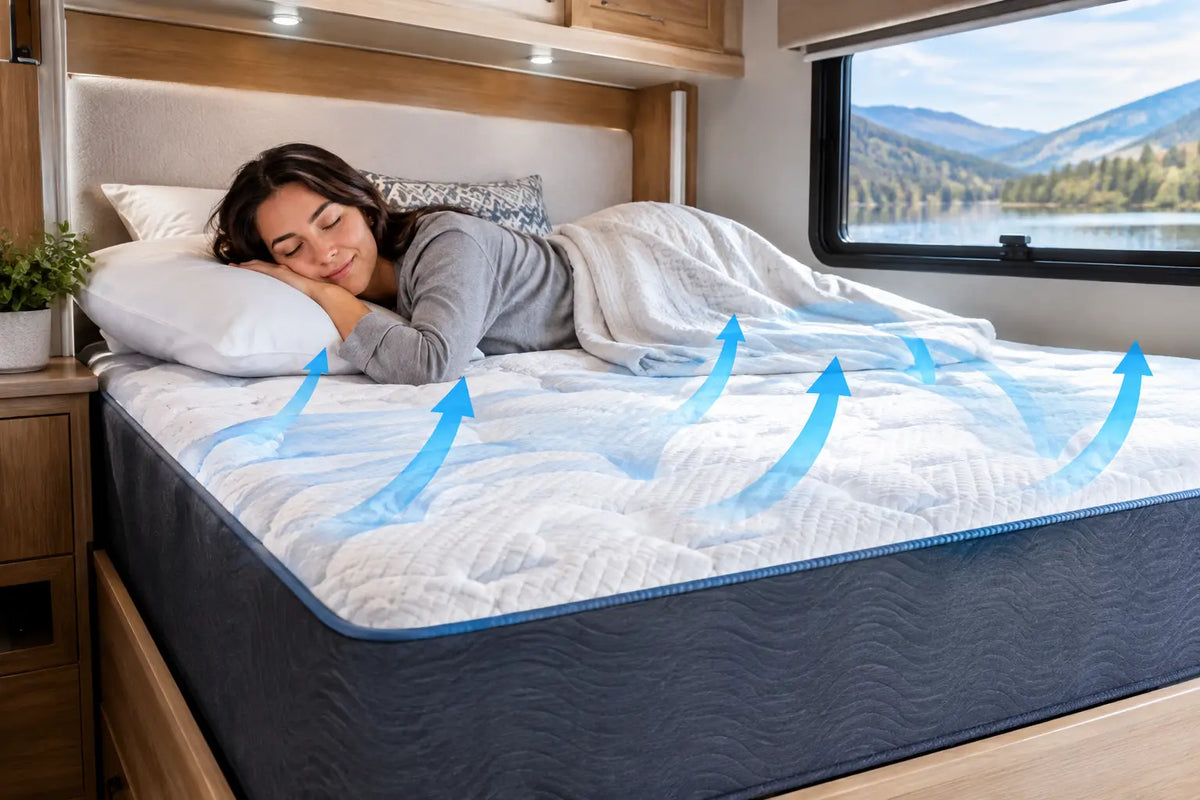
A cold morning, closed windows, and two people sleeping on a foam mattress can leave surprising moisture trapped beneath your RV bed. You may not see it until you lift the mattress and find damp plywood, a musty smell, or early signs of mildew. This guide to RV mattress ventilation explains how to stop that cycle before it damages your mattress, bed platform, and sleep quality.
RV bedrooms create a tougher moisture environment than a house. Small spaces hold humidity quickly, exterior walls and uninsulated platforms can run cold, and many factory mattresses sit directly on solid plywood. That combination restricts airflow exactly where it is needed most: under the mattress.
Why RV Mattress Ventilation Matters
Every sleeper releases moisture overnight through breathing and perspiration. In a home, central heating, larger room volume, and more consistent air movement help that moisture disperse. In an RV, it can condense on cooler surfaces, including the underside of a mattress and the platform below it.
A mattress placed flat on a solid board has nowhere to dry. Foam is especially vulnerable because it can hold heat and moisture close to its base. Over time, trapped moisture may lead to odors, staining, mold growth, warped wood, and a mattress that feels clammy instead of comfortable.
Ventilation is not only a damp-weather concern. It also improves thermal comfort. Air circulating beneath the bed helps reduce the heat buildup that can make an RV mattress feel warmer than it should, particularly when the bedroom is closed up at night.
Start With the Bed Platform
The platform beneath your mattress determines how much airflow you can realistically achieve. Before buying an accessory, lift the mattress and inspect what is already there.
A slatted base is usually the strongest starting point. Spaces between slats allow air to move under the mattress, while the slats still provide support. The gaps should be narrow enough to prevent sagging, especially with foam mattresses, but open enough to create meaningful circulation. If your existing slats are widely spaced or flexible, add support rather than assuming more gaps always mean better ventilation.
A solid plywood platform is common in RVs because it is simple, sturdy, and often doubles as storage access. It is also the most likely setup to trap condensation. Drilling or cutting ventilation holes can help, but only if you avoid weakening the platform, damaging wiring, or exposing storage compartments to debris. For many owners, adding a dedicated under-mattress airflow layer is the safer and more effective first move.
If your bed lifts for storage, check the underside of the platform too. A storage compartment packed tightly with bedding, gear, and clothing can limit air movement and retain moisture below the wood. Leave some room around vents and avoid storing wet towels, shoes, or outdoor gear under the bed.
Choose an Under-Mattress Airflow Layer
A ventilation layer creates a physical channel between the mattress and the platform. It is a practical upgrade for any solid-base RV bed, and it is particularly useful for full-time RVers, winter travelers, and campers who spend several nights in humid climates.
Look for a firm, breathable material designed to maintain its shape under the mattress. The goal is not to add softness. The goal is to prevent the mattress from sealing against the platform. A good airflow layer should support the entire mattress, resist compression, and allow moisture to evaporate instead of pooling underneath.
Do not confuse a standard mattress pad with ventilation. A padded protector can protect the top surface from spills and body oils, but it does little to improve airflow underneath. Likewise, placing loose blankets, towels, or cardboard beneath the mattress is not a durable solution. Those materials can absorb moisture, flatten out, and create another surface for mildew to develop.
Your mattress type affects the result. All-foam RV mattresses generally benefit most from a dedicated airflow layer because their dense structure and full contact with the base can retain warmth. Hybrid mattresses with pocketed coils may allow somewhat more internal air movement, but they still need space below the mattress when installed on plywood. Even the best cooling mattress cannot compensate for a damp, sealed-off bed base.
Control Humidity in the RV Bedroom
Better bed airflow works best alongside basic humidity control. The right approach depends on your climate, how many people are inside the RV, and whether you are running heat or air conditioning.
In cold weather, condensation is the primary concern. Warm indoor air meets cold exterior surfaces, and water vapor turns to liquid. Crack a roof vent or window when conditions allow, use the bathroom fan during and after showers, and cook with ventilation running. It may feel counterintuitive to let cool air in during winter, but a small amount of fresh-air exchange can sharply reduce moisture accumulation.
In hot, humid weather, outside air is not always the answer. If the outdoor humidity is high, opening windows may bring in more moisture. Air conditioning can help because it removes humidity as it cools, while a compact dehumidifier can be useful when you have shore power. Watch the tank capacity and empty it consistently. A full dehumidifier is just another appliance taking up space.
Keep interior doors and wardrobe areas open periodically. Closets, corners, and the area around the head of the bed often become stagnant zones. If your RV has a bedroom door, leave it open during the day when privacy is not needed so the entire coach can equalize.
A Practical Routine for Preventing Moisture
Ventilation works best as a habit, not an emergency fix. After a rainy stretch, a week of cold camping, or several nights with the RV closed up, lift one corner of the mattress and feel the platform. It takes less than a minute and gives you a clear picture of what is happening where you cannot see it.
Use this four-part routine during extended trips:
- Air out the bedroom each morning with a roof vent, window, fan, or climate control suited to the weather.
- Pull back bedding for a short period so the top of the mattress can release overnight heat and moisture.
- Check beneath the mattress at least weekly, and more often in cold or humid conditions.
- Dry any damp surface immediately before replacing the mattress, then identify whether the moisture came from condensation, a leak, wet storage, or poor airflow.
Match Ventilation to Your Sleep Upgrade
An RV mattress should support better sleep, not create another maintenance problem. If you are replacing a thin factory mattress, plan the ventilation setup at the same time. Measure the bed platform accurately, confirm where the mattress touches walls and storage hinges, and account for the added height of an airflow layer.
This matters most in RV-specific sizes. An RV King, RV Queen, RV Full/3/4, or bunk mattress may fit tightly against cabinetry, leaving little room to lift or inspect it. A correct-size mattress makes routine checks easier and prevents compressed edges that can further restrict air circulation.
Cooling materials can improve how the mattress feels from the first night. Conductive cooling covers, gel memory foam, and breathable coil systems help manage surface heat, while zoned support reduces pressure points that cause restless sleep. But cooling comfort and moisture control are related, not identical. Cooling technology helps you sleep less hot. Ventilation protects the mattress and platform from the moisture that builds up beneath you.
That distinction is why a premium mattress deserves a proper foundation. Polar RV Mattress models are designed for serious RV sleep upgrades, but any quality mattress will perform better and last longer when it is supported on a dry, breathable base.
When You May Have a Bigger Problem
If moisture keeps returning after you improve airflow and humidity control, look beyond the mattress. Condensation usually follows patterns, while a leak can create concentrated wet spots or remain present even during dry, mild weather.
Check around windows, exterior walls, roof seams, slide-out areas, plumbing runs, and storage compartments. Look for discolored wood, soft spots, drips, damaged sealant, or wet insulation. A mattress ventilation project is a good chance to find these problems early, before a small water intrusion becomes an expensive repair.
A dry bed platform is not a luxury detail. It is part of a healthier, cooler, more dependable RV bedroom. Give air a path beneath your mattress, manage humidity according to the weather, and make a quick under-bed check part of your travel routine. Your mattress will stay fresher, and your next morning on the road will start much better.



Share:
Full Time RV Sleep Guide for Better Nights
Best RV Mattress Materials for Cooler Sleep